
A Guide To DIY Gift Wrapping: A Blind Mom's Perspective
Unwrapping Creativity With Touch And Texture
Disclaimer: If you purchase from any of the below links, I'll earn a small commission at no cost to you, and my baby gets a few more pennies to feed his Elmo bank!
My daughter's birthday falls on December thirteenth, closely followed by Christmas. "This festive season means embracing the joy of DIY gift wrapping! When the topic arises with sighted people, I often hear:
- Do others wrap your gifts?
- But you don't wrap them yourself, of course.
- I know a store that has a great deal on gift wrapping right now!
- You must need so much help preparing!
Tactile gift wrapping is a process I've mastered, proving it's versatility as a craft of creativity and determination, not merely sight. I can't afford to pay someone, and honestly, DIY gift wrapping is more my style. I've watched my mom wrap presents by hand since childhood, and the art is less about vision, and more about touch and creativity!
Here's how I do it.
What You'll Need
- Wrapping Paper
- Tape
- A paper cutter or scissors
- Creativity and determination to kick this wrapping job's caboose
- Reserved bragging rights (To be used with caboose kicking.)
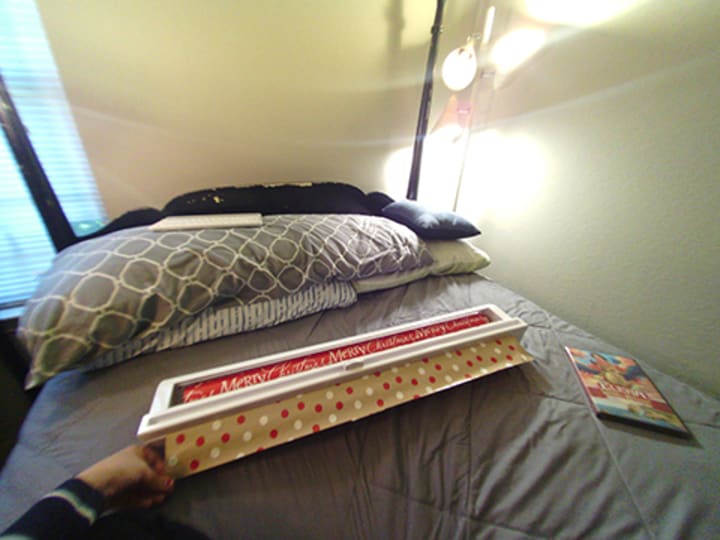
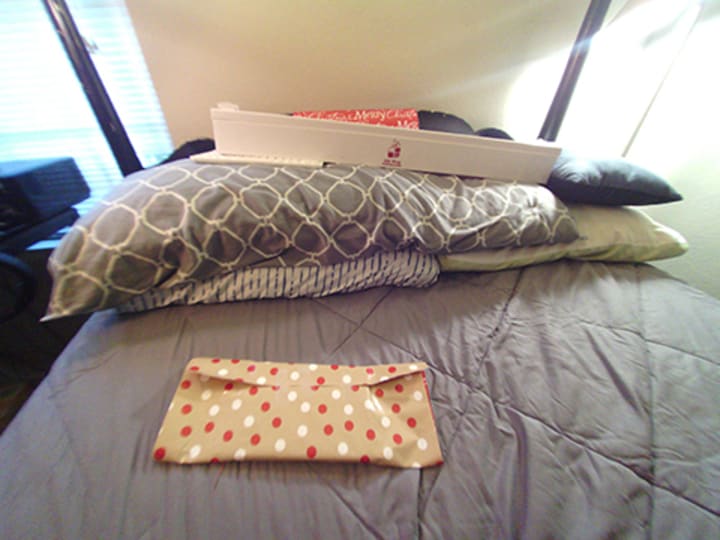
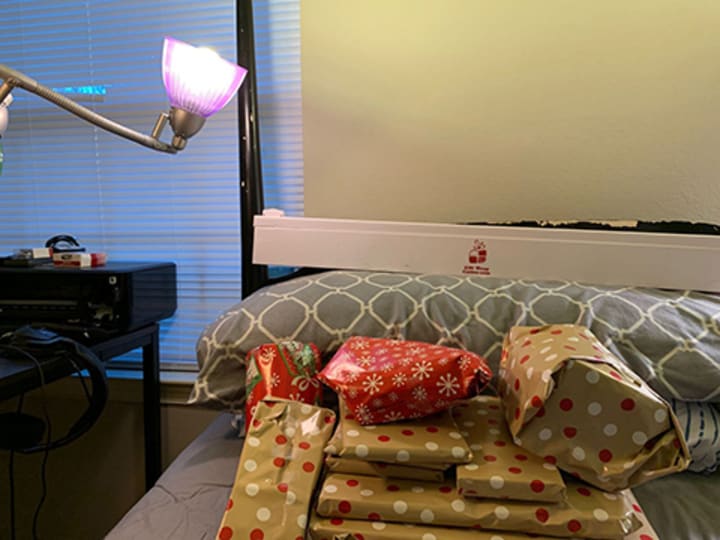
Step 1: Pick A Gift
Like this one!
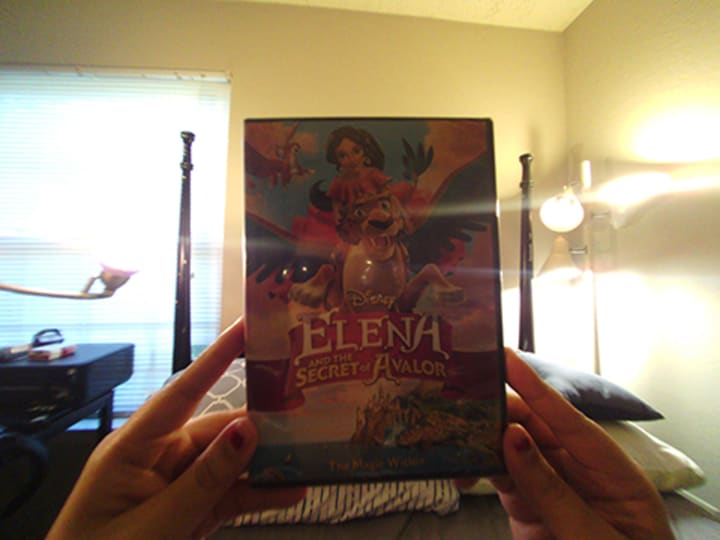
This whole present wrapping plan tends to go sideways without a gift, so grab one! I usually start with something like a DVD, which can be tricky due to its slim edges.
Step 2: Select Your Paper
Wrapping paper is another item successful present swaddling requires! This is where your choice in said wrapping can truly showcase your creativity. I'll detail gift bag presentation in another story, as that's an entirely separate topic.
In the U.S., great wrapping paper selections are available at places like Amazon, Walmart, and Target. I shop for mine in these places because most product descriptions will explain what I'm receiving.
Steer clear of thin papers from dollar stores. They lack the durability needed for a quality DIY gift wrapping job, especially if you're rough-of-hand like me; I am *not* a gentle present parceler, and have destroyed many a ninety-nine cent store roll this way.
I personally adore reversible paper for its versatility, and I love the thickness of this Hallmark wrapping in particular.
Step 3: Prepare The Paper
If you have a paper cutter, absolutely use it. It's a lifesaver for those who struggle with straight cuts as I do. The cutter I have is discontinued on Amazon, but the one linked here is very highly regarded.
If you don't own a paper cutter, I strongly suggest making the investment. I've had mine since 2016, and I use it every year, and it's come in handy for other DIY crafting ideas. Scissors and I have a mutually agreed-upon antipathy.
If you're using scissors, ensure they're sharp. Trust me, trying to cut wrapping paper with safety scissors is an exercise in holiday patience. If I were still six, I'd be catapulted straight onto Santa's naughty list after some of the insults I've lobbed at safety scissors--Great for your toddler's fridge-bound construction paper snowflake, not so great for tactile gift wrapping.
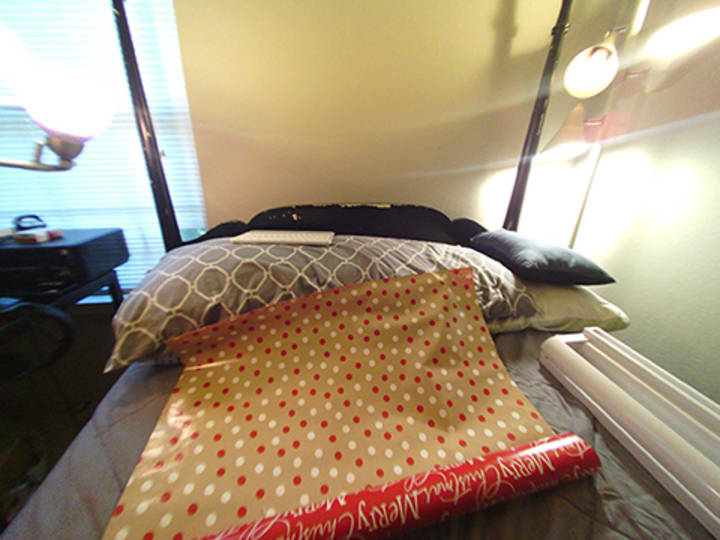
Step 4: Cut The Paper
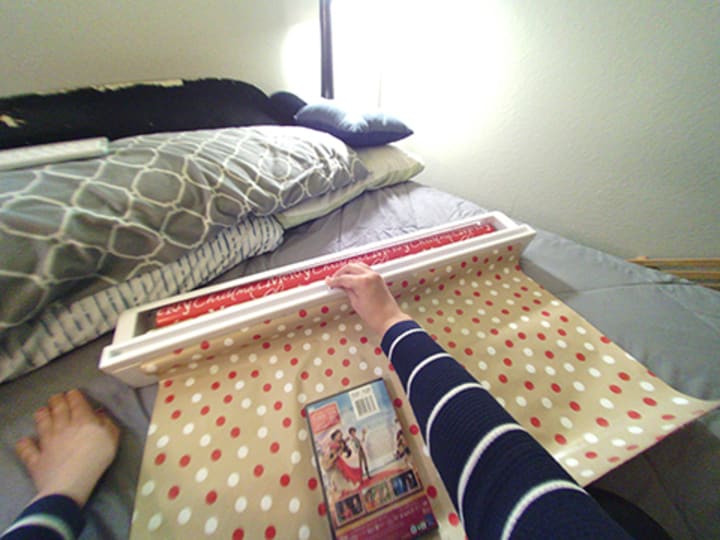
Lay the gift on the paper to measure before cutting. I usually cut the paper lengthwise first, then again crosswise for a smaller piece.
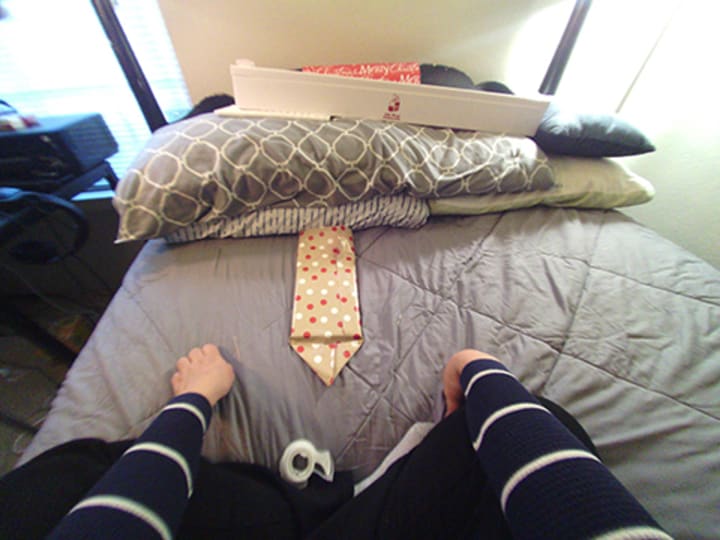
Step 5: Position The Item
DVD positioned on wrapping paper, ready for wrapping, emphasizing tactile technique in gift preparation.
Place the present face-down in the center of the cut paper. Make sure the pattern side faces outward. If you're using reversible paper, you can get away with bombing this step, and nobody will ever know.
Ideally, you want your gift recipient to see the present's front side when they open it. As a visually impaired person, I sometimes wrap items upside down or backward. Still, I'm an exceptionally special snowflake, and it's the thought that counts, right?
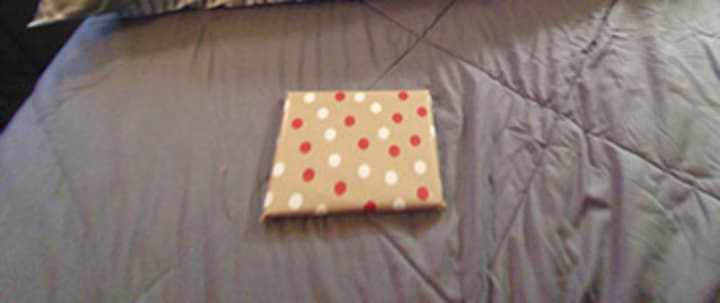
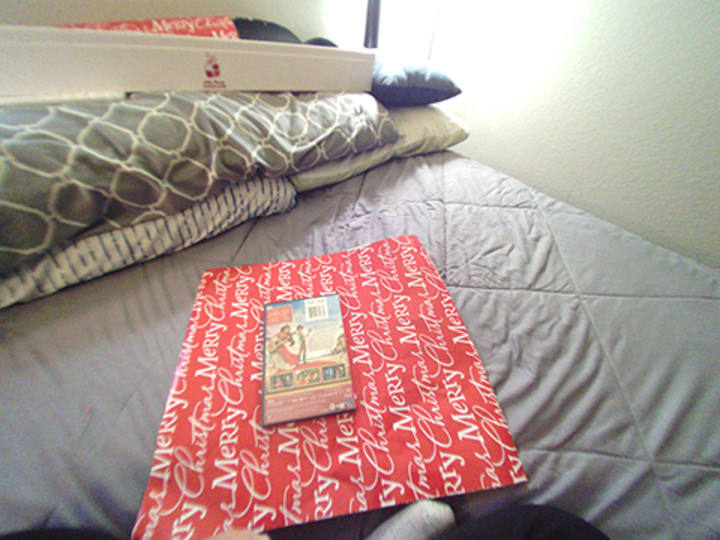
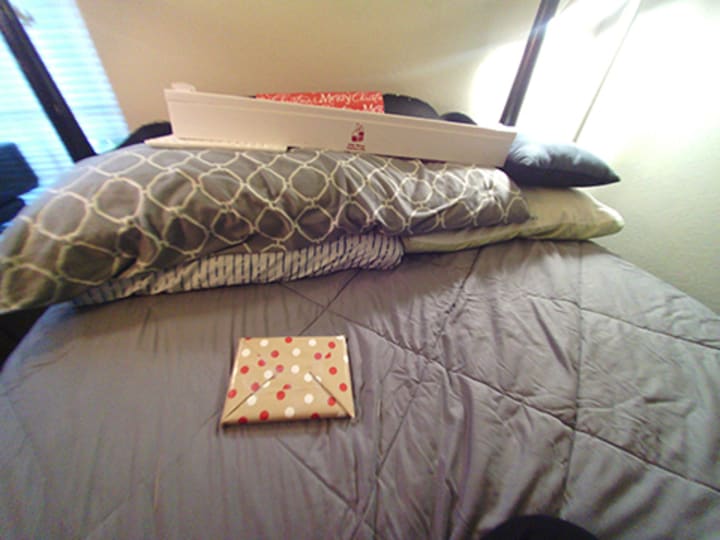
Step 6: Neatly Secure The Paper
Or, you know, fumble like I did here because my alignment was off by a billion percent.
Fun fact: I still playfully maintain I wrap better than my sister! Several years ago, she took one look at a wrapping job of mine and proceeded to inform me I would be covering hers, too. Embrace the goof-ups, especially early on. This will be hidden.
Note: Nestle the edge of your item snugly against the paper's crease to facilitate a neat finish.
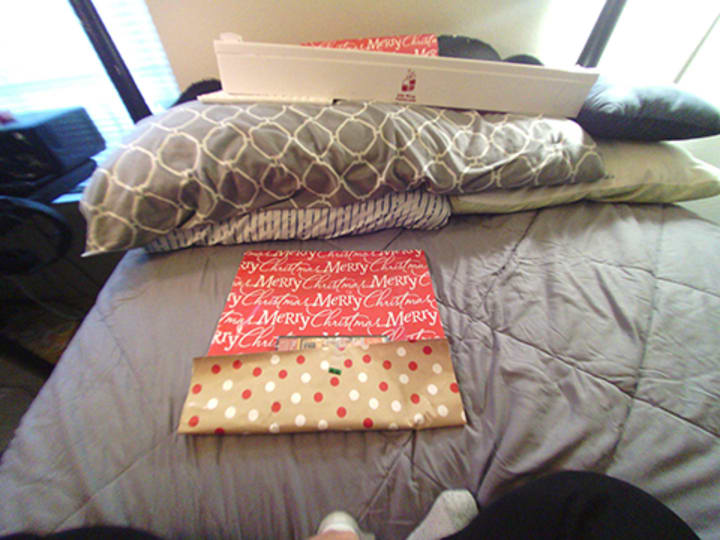
Step 7: Wrap It Up
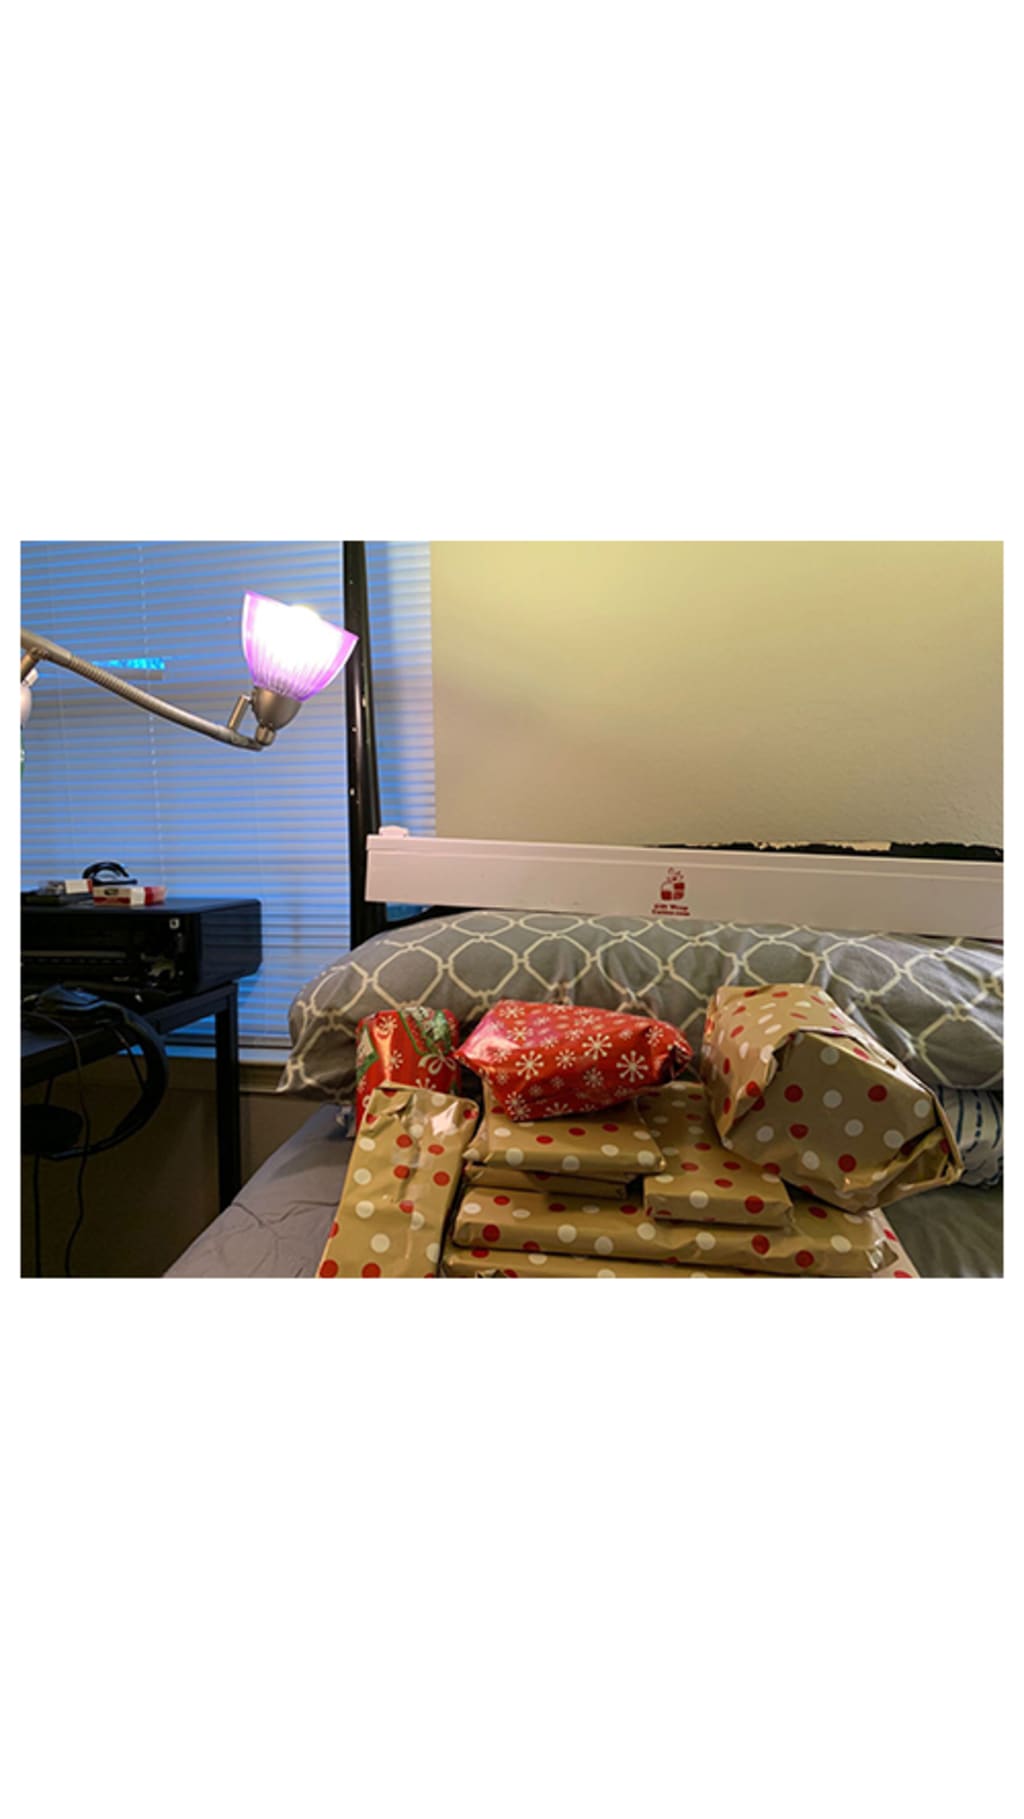
I cut too much paper off for this package, even after the second slice, so I wrapped it around the DVD about two times. You don't need to waste paper this way, but I didn't want to lose my photo shoot momentum!
Don't forget, always ensure your edges snugly hug the present's contours where possible.
Step 8: Seal The Ends
Right corner to center, left corner to center. This will form a triangular shape at the end of the parcel. You can tape each side down as it meets the center or fold both before affixing them in place. Wrapping the present this way makes it look tidy.
Step 9: Add Finishing Touches
Once your triangles are taped, fold them toward the back of your present and secure them in place.
Finally, add any ribbons or bows to embellish your gift. I opted against these adornments myself. There was a cat in the house!
Step 10: Exercise Bragging Rights
Your present is wrapped!
Remember those bragging rights I mentioned earlier? Now is when you send them out to meet and greet with all your family and friends!
There you have it, my Treasures. Wrapping presents without sight isn't merely possible; it's a creative process I've always enjoyed.
Vision oversight makes so much possible.
Embracing and guiding until next I write,
Sirena
____________________
If you like what you've read here, please comment and consider supporting my content by subscribing. Tips and pledges are always welcome, but your thoughts are the true gold.
About the Creator
Enjoyed the story? Support the Creator.
Subscribe for free to receive all their stories in your feed. You could also pledge your support or give them a one-off tip, letting them know you appreciate their work.
Keep reading
More stories from Sirena Carroll - The Blind Single Mom and writers in Art and other communities.
From Light To Darkness, "Mommy" to "Your Mother"
I Was Sirena The first thing I lost was my face. It faded into the steamed glass fog my vision was becoming as cataracts in my fourteen-year-old eyes sought to claim what little sight remained to me. I looked into a mirror every day and watched myself be erased.
By Sirena Carroll - The Blind Single Mom7 months ago in Writers
Tea set by a suffragette
Pankhurst is a name well known to the history of women’s suffrage. Who hasn't heard the name Emmaline Pankhurst, founder of the Women's Social and Political Union (WSPU), an all-women organisation campaigning for the right to vote? The group that helped to achieve the right to vote for women in Great Britain and Ireland in 1918. Some know of her daughter Christabel, both being honoured by the Pankhurst memorial in Victoria Palace Gardens, London, right next to the UK Parliament buildings. Sylvia Pankhurst is notably not included in the monument. Why? Because she split with the WSPU to campaign against Britain's entry into First World War.
By Raymond G. Taylor24 days ago in Art
Designing an Eye-Catching Exhibition Stand in Cologne
Cologne, known for its vibrant trade fairs and bustling exhibition centers, is a prime destination for businesses looking to showcase their products and services. Designing an eye-catching exhibition stand in Cologne is crucial for making a lasting impression and attracting potential customers. This article will explore key strategies and tips for creating a stand that stands out in the competitive environment of Cologne's trade shows.
By Noah Centineo4 days ago in Art


Comments (1)
Your wrapping is so nice and neat! I'm so terrible at wrapping! I enjoyed reading this!